
Laser TV Operation Guide: How to Fix Common Setup & Daily Use Problems

Have you ever felt stuck when your Laser TV does not work the way you expect? You are not alone. Many people run into issues with setup or daily use. The right steps can help you get clear images and smooth operation every day. Setting up your Laser TV the right way makes a big difference. Take a look at this table to see how proper setup helps your device:
Aspect |
Impact on Performance and Longevity |
|---|---|
Durability |
Affects the lifespan of the device and its components. |
Reliability |
Ensures consistent performance over time. |
Total Cost of Ownership |
Influenced by the longevity of laser sources and build quality. |
This Laser TV / How to / Guide will help you fix problems quickly so you can enjoy your favorite shows without stress.
Key Takeaways
Proper setup of your Laser TV enhances durability and reliability, leading to a longer lifespan and better performance.
For common issues like no image or remote control problems, check connections, settings, and clean components to ensure smooth operation.
Regular maintenance, such as cleaning the lens and checking cables, keeps your Laser TV running efficiently and improves picture quality.
Use the Setup Assistant for initial setup and troubleshooting to avoid missing important steps that can cause problems.
If issues persist after troubleshooting, seek professional help to avoid further damage and ensure your Laser TV functions properly.
Laser TV Quick Troubleshooting Guide
Power & Startup Issues
You press the power button, but nothing happens. Don’t worry. Start by checking if the power cable is firmly plugged into both the Laser TV and the wall outlet. Sometimes, the outlet switch is off, so flip it on. If your device has a power indicator, look for a light. No light means you should try a different outlet or test the cable with another device. If your Laser TV has a Setup Assistant, use it to guide you through the first-time startup steps. This Laser TV / How to / Guide helps you avoid missing simple steps that can cause startup problems.
Tip: If your Laser TV has a physical power button, press it directly instead of using the remote. This helps you rule out remote issues.
No Image or Blank Screen
You see a blank screen after turning on your Laser TV. First, check if the lens cover is removed. Make sure nothing blocks the projector lens. Look at the input source setting. Select the correct HDMI or AV input for your device. If you use an external device, confirm it is powered on and connected. Try unplugging and plugging the HDMI cable back in. If the screen stays blank, restart both the Laser TV and the connected device. This Laser TV / How to / Guide recommends using the Setup Assistant to confirm your input settings.
Note: Daylight can affect brightness. Close curtains or blinds to improve image visibility.
Remote Control Problems
Your remote does not respond. Here’s what you can do:
Point the remote at a digital camera or your phone’s camera. Press any button and look for a flashing light from the remote’s infrared LED. If you see a light, the remote is working.
Replace the batteries if some buttons do not work.
Clean the remote buttons with warm water and a toothbrush to remove any sticky residue.
Check if the TV’s remote sensor is blocked. Remove any objects in front of the sensor.
Try using the remote with the TV’s sensor unplugged.
Test the power and volume buttons with your phone’s camera to confirm they send a signal.
If the remote still does not work, use the physical buttons on your Laser TV to navigate the Setup Assistant and pair the remote again.
Laser TV Setup Guide & Common Mistakes
Placement & Alignment
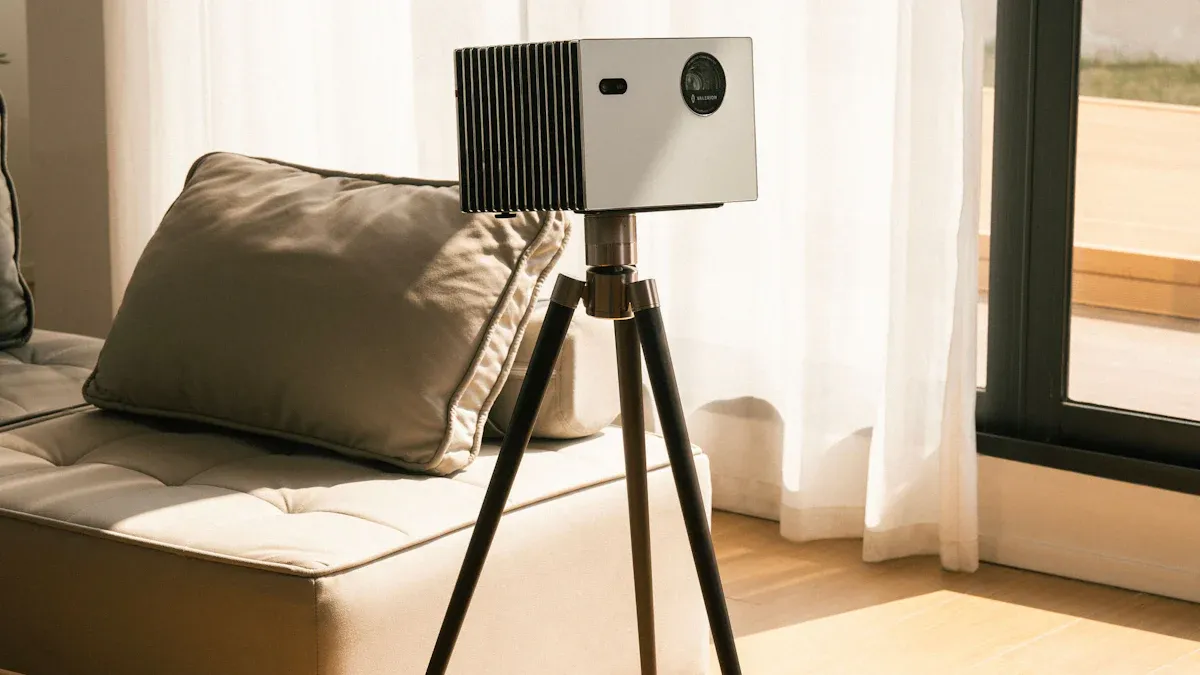
You want your Laser TV to show a clear and even image. Start by centering the projector with the screen. Measure the distance from the wall to the center of your screen, then match that distance to the projector lens. Use lens shift if your model has it. This feature lets you move the image up, down, or sideways without moving the projector. Try to keep the projector and screen level. Darker walls and blackout curtains help boost contrast and color.
Tip: Good cable management makes your setup look neat and prevents tripping hazards.
Screen Size & Projection Distance
Screen size depends on how far your Laser TV sits from the screen. A smaller throw ratio means you get a bigger picture even when the projector is close. Check your manual for the best projection distance. Higher brightness and resolution give you a sharper image. If you want a large screen, place the projector closer if it supports a small projection ratio.
UST Positioning & Height Tips
Ultra Short Throw (UST) Laser TVs need careful placement. Build or use a console that lets you adjust both the screen and projector together. Adjust the height so the image fits the screen, especially if your screen size cannot change. Use keystone correction to fine-tune the image shape.
Avoiding Setup Errors (Skew, Obstruction)
Common mistakes can ruin your viewing experience. Watch out for:
Placing the projector at an angle, which causes a skewed image.
Blocking the lens with objects or cables.
Setting up in a bright room, which can wash out colors.
Forgetting to plan for power and HDMI cables.
This Laser TV / How to / Guide helps you avoid these problems.
Initial Picture & Sound Settings
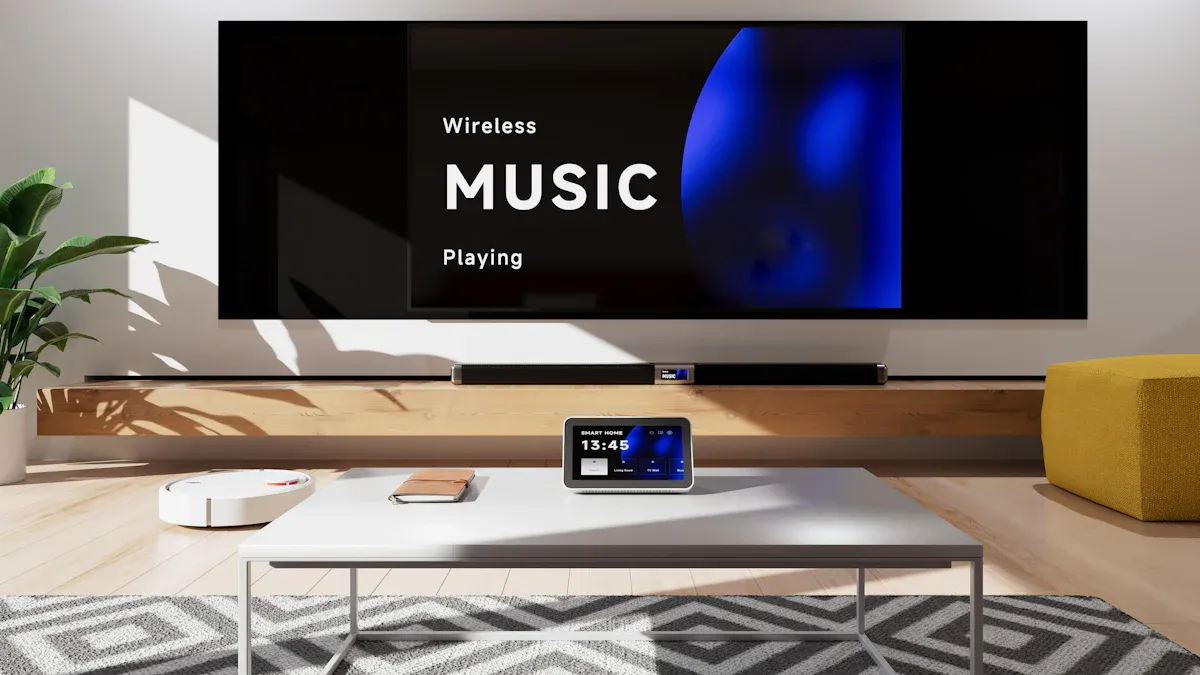
For the best picture, use an ALR screen and watch in a dark room. Adjust laser luminance based on your room’s light. Set the picture mode to match what you’re watching—Theater for movies, Sports for games. Try ‘Warm1’ or ‘Warm2’ for color temperature. Set color space to Auto. For sound, internal speakers work well, but a soundbar can make movies and music sound even better.
This Laser TV / How to / Guide walks you through every step, so you get the best results from day one.
How to Fix Daily Use Issues
Image Quality (Blurry, Color, Brightness)
You want your Laser TV to show a sharp, colorful picture every time. Sometimes, the image looks blurry or the colors seem off. Brightness can also change, especially during the day. Here’s how you can fix these problems:
Check the focus ring or focus menu. Adjust until the image looks clear.
Move the Laser TV closer or farther from the screen. The right throw distance helps the picture stay sharp.
Clean the lens with a soft cloth. Dust can make the image blurry.
Set the brightness to match your room. If the room is bright, increase the brightness. If it’s dark, lower it for better contrast.
Pick the right picture mode. Try “Movie” or “Standard” for natural colors.
Adjust color temperature and white balance. This helps fix color distortion and makes the image look more real.
Avoid setting contrast too high. Too much contrast can make blue tones look strange.
Use the Laser TV / How to / Guide to find the best settings for your model.
Tip: If the image still looks wrong, reset the picture settings to default and start again.
Here are some common causes of image problems:
Incorrect brightness or contrast settings
Wrong throw distance or poor alignment
Dirty lens or screen
Resolution mismatch between the Laser TV and your source device
Audio Problems (No Sound, Delay)
You sit down to watch a movie, but there’s no sound. Or maybe the audio lags behind the video. Don’t worry. You can fix most sound issues with a few simple steps:
Turn off your Laser TV and sound system. Unplug both for two or three minutes.
Plug them back in and turn them on.
Update your Laser TV’s firmware if an update is available.
Check all cables. Make sure they are tight and in the right ports.
Try a different channel, app, or video. See if the problem happens everywhere.
Connect your source device (like a game console) directly to your soundbar or receiver.
Turn Game Mode on or off to see if it helps.
Clear the TV’s cache in the settings menu.
Set Audio Out to “PCM” and Pass-through to “Auto.”
Turn off eARC mode if you use it.
Adjust the A/V Sync setting to match the sound with the picture.
Reset the sound settings if nothing works.
As a last step, do a factory reset using the Laser TV / How to / Guide.
Note: Most sound problems come from loose cables or wrong settings. Double-check these first.
HDMI & External Device Issues
Sometimes, your Laser TV does not show anything from your game console or streaming stick. Maybe the picture flickers or the device is not detected. Here’s what you can do:
Step |
What to Do |
|---|---|
Make sure your source device is set to duplicate or extend the display to the projector. |
|
Check that the resolution matches what your Laser TV supports. |
|
Test with Another Source |
Try a different device with HDMI output. This helps you find out if the problem is with your Laser TV or the device. |
Unplug and replug the HDMI cable. Try a different cable if you have one.
Use the correct HDMI port. Some ports support higher quality or special features.
Restart both the Laser TV and the external device.
Use the Laser TV / How to / Guide for step-by-step HDMI troubleshooting.
Tip: If you use a soundbar or receiver, connect your devices directly to the Laser TV first. This helps you find the problem faster.
Remote & System Lag
You press a button on the remote, but nothing happens right away. Maybe the menu moves slowly or the video stutters. These lags can be annoying, but you can fix them.
Type of Lag |
What It Means |
|---|---|
You press a button, but the TV responds slowly. |
|
Video Lag |
The picture freezes, stutters, or drops in quality. |
Change the batteries in your remote.
Remove objects between the remote and the Laser TV’s sensor.
Close apps you are not using. Too many open apps can slow down the system.
Restart your Laser TV to clear memory.
Update the system software if an update is available.
Lower the picture quality setting if streaming video lags.
If lag continues, reset the TV using the Laser TV / How to / Guide.
Note: If you use voice commands, make sure your internet connection is strong. Some features need a fast network.
You can solve most daily use problems with these steps. If you still have trouble, check your manual or contact support for help.
Laser TV Maintenance & Support Guide
Routine Maintenance Tips
You want your Laser TV to work well every day. Regular care keeps it running smoothly. Here are some easy steps you can follow:
Wipe the lens with a soft, dry cloth. Dust can make the picture blurry.
Clean the air vents once a month. Use a small brush or a vacuum with a gentle nozzle.
Check the power cable and HDMI connections. Make sure they fit tightly.
Keep the area around your Laser TV free from clutter. This helps with airflow and cooling.
Turn off your Laser TV when you are not using it. This saves energy and helps the laser last longer.
Update the system software when you see a new version. Updates fix bugs and add new features.
Tip: Set a reminder to clean your Laser TV every month. You will notice better image quality and fewer problems.
Here is a quick table to help you remember:
Task |
How Often |
|---|---|
Clean lens |
Weekly |
Clean vents |
Monthly |
Check cables |
Monthly |
Software update |
As needed |
When to Seek Professional Help
Sometimes, you may see problems that you cannot fix by yourself. Here are signs you should call a professional:
The Laser TV will not turn on, even after checking the power.
You see strange colors or lines on the screen that do not go away.
The sound does not work, and you have tried all the steps in this Laser TV / How to / Guide.
The system overheats or shuts down often.
You hear loud noises from inside the device.
Note: If you see smoke or smell something burning, unplug your Laser TV right away and contact support.
You can solve most problems with regular care. If you need help, do not wait. Professional support can keep your Laser TV working like new.
You’ve learned how to fix common Laser TV problems and set up your device for the best results. Keep this guide handy whenever you need quick solutions. Regular cleaning and smart placement help your Laser TV last longer and work better. Check out these long-term benefits:
Benefit |
Explanation |
|---|---|
Cleaning and checking parts slow down wear and tear. |
|
Lower repair costs and downtime |
Preventive care means fewer repairs and less waiting. |
Proper maintenance keeps your Laser TV running at peak efficiency.
You get safer, more satisfying viewing every day.
FAQ
How do you clean your Laser TV lens safely?
Use a soft, dry microfiber cloth. Gently wipe the lens in a circular motion. Avoid using water or cleaning sprays. Dust and fingerprints can blur your image, so regular cleaning helps keep your picture sharp.
Why does your Laser TV image look crooked or misaligned?
Check if your projector sits level with the screen. Move it so the lens lines up with the center. Use keystone correction if needed. Remove any objects blocking the lens. A straight setup gives you the best viewing experience.
What should you do if your Laser TV is too dim during the day?
Close curtains or blinds to block sunlight. Switch to a brighter picture mode. Increase the brightness setting in your TV menu. An Ambient Light Rejecting (ALR) screen can also help boost daytime visibility.
How can you connect a game console or streaming device?
Plug your device into the HDMI port on your Laser TV. Select the correct HDMI input using your remote. If you see no image, try a different cable or port. Make sure your device is powered on.
What if your remote control stops working?
Replace the batteries first. Point the remote directly at the TV sensor. Remove anything blocking the sensor. If it still does not work, use the physical buttons on your Laser TV to pair the remote again.
